
Tile Installation in Las Vegas
Shower surrounds, kitchen backsplashes and floor tile installed on a properly waterproofed substrate, set flat, with grout lines that actually line up.
NV State Licensed · Fully Insured · CMRC Certified — Mold Remediation
Tile fails at the waterproofing, not the tile. A shower built over drywall will look perfect for a year and then start growing mold behind the wall — so wet areas get cement backer board and a proper membrane before a single tile is set.
Layout matters just as much. We dry-lay every job first so full tiles land on the focal wall and cuts get pushed to corners and edges, instead of ending up with a sliver of tile at the shower valve.
What's included
- Shower and tub surround installation
- Kitchen backsplash and floor tile
- Waterproofing membrane in all wet areas
- Layout planning and dry-fit before setting
- Grout, silicone and sealing
- Fixture, trim and glass reinstallation
Specifications
- Applications
- Shower and tub surrounds, kitchen backsplash, floor tile, fireplace surrounds and accent walls.
- Substrate
- Cement backer board or an approved waterproof substrate in wet areas — never drywall behind a shower.
- Waterproofing
- Roll-on or sheet membrane at shower walls and pans, with seams and penetrations taped and sealed before setting.
- Setting materials
- Modified thinset appropriate to the tile type, 1/16-inch to 1/8-inch grout joints, and a tile leveling system on large-format tile to prevent lippage.
- Grout & sealing
- Sanded or unsanded grout matched to the tile, 100% silicone at every change of plane, and penetrating sealer on natural stone and porous grout.
A standard backsplash is 1–2 days. A full shower surround runs 3–5 days including waterproofing and grout cure.
Before and after: tile work
Old, failing tile removed, the substrate rebuilt and waterproofed, and new tile set to a dry-laid layout.
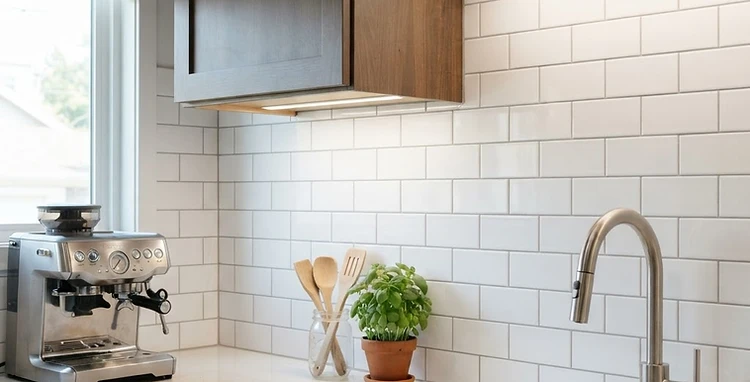

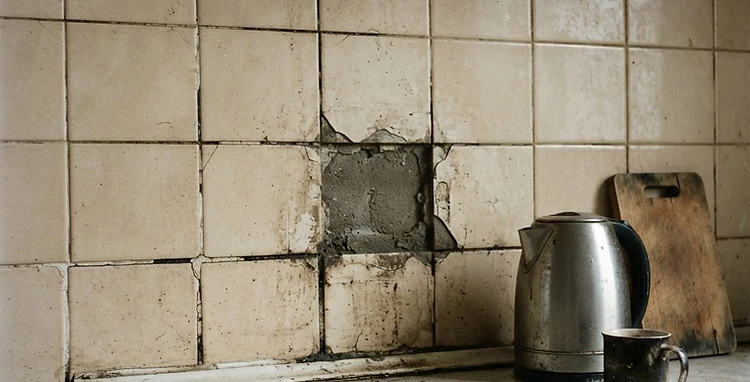
Drag the divider to compare the original tile with the finished installation.
How we install tile
Waterproof the substrate, dry-lay the layout, set, then grout and seal.
- 1
Demo and inspection
Existing tile comes out and the substrate is inspected. Any rot, soft board or past water damage is replaced before we rebuild.
- 2
Waterproof the substrate
Cement backer board goes up in wet areas, seams are taped, and a waterproof membrane is rolled or sheeted over the walls and pan.
- 3
Dry-lay the layout
Tiles are laid out dry first so full tiles land at the focal point and cuts are pushed to the corners where they belong.
- 4
Set, grout and seal
Tile is set with a leveling system to prevent lippage, grouted, siliconed at every change of plane, and sealed where the material calls for it.
Tile installation questions
What homeowners and property managers ask before a tile job.
Related services
These are the services most often paired with tile installation on the same property.
Planning a tile project?
Send us photos of the space and the tile you have in mind and we'll come back with a written scope — free, usually within 24 to 48 hours.
NV State Licensed · Fully Insured · CMRC Certified Mold Remediation