Key takeaways
- Water damage drywall repair is three jobs in one: fix the source, dry the cavity, then rebuild the wall.
- Skipping the drying step is what turns a repair into a mould remediation.
- A finished repair should be invisible — texture matched and paint blended, not spot-painted.
Replacing a wet sheet of drywall is straightforward. Making the wall look like nothing ever happened — and making sure it stays that way — is the part that takes judgement. Here is the sequence we work to.
Step 1 — Find and fix the water source
Every water-damage repair starts here. If the leak is still active, new board will get wet too. Common sources we trace in Las Vegas homes: a supply line or angle stop under a sink, a toilet wax ring or shower pan, an AC condensate line draining into a wall or ceiling, a water heater fitting, or a monsoon-season roof, window or stucco penetration.
Step 2 — Map the real extent
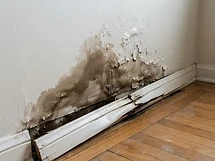
Water travels. It wicks up drywall paper, runs along framing, and pools at the bottom plate. The visible stain is almost always smaller than the actual affected area, which is why we meter the wall, the floor and the adjoining rooms before quoting.
Step 3 — Cut out what is damaged
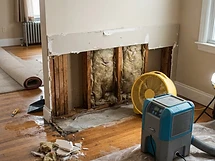
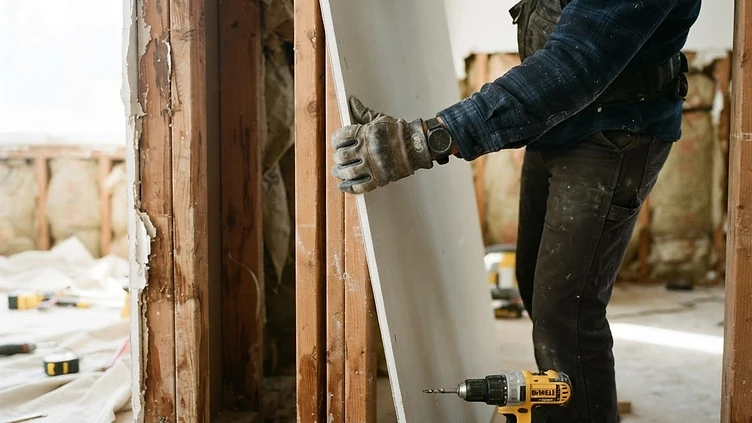
- Damaged board removed back to the framing, squared off rather than feathered
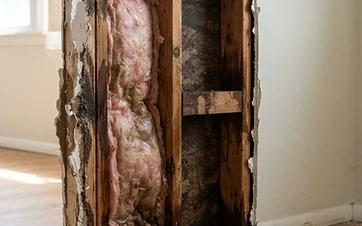
- Wet insulation removed and replaced
- Swollen baseboard removed — it will not go back cleanly
- Contaminated or odorous material removed rather than treated
Step 4 — Dry and verify the cavity
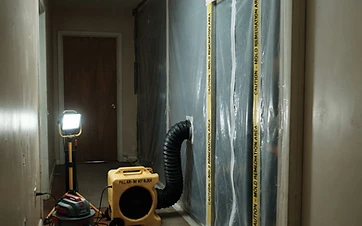
This is the step that gets skipped, and the step that matters most. The cavity is dried with air movement and dehumidification, then metered until the readings hold. Closing a wall over a damp cavity is how a drywall repair becomes a mould remediation six months later.
What the EPA says
The EPA's guidance is to fix the water or moisture problem and dry water-damaged areas and items within 24 to 48 hours to prevent mould growth, and to remove and replace porous materials that cannot be dried thoroughly.
Source: U.S. EPA — A Brief Guide to Mold, Moisture, and Your Home
Step 5 — Rebuild the wall
- 1
New drywall
Correct thickness and type for the location — moisture-resistant board in bathrooms and kitchens.
- 2
Tape and finish
Three coats of setting-type compound, sanded to a level-4 finish so the patch does not telegraph.
- 3
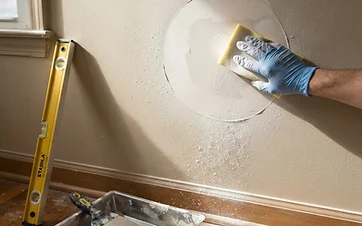
Match the texture
Test panel first, compared to the surrounding wall under raking light.
- 4
Prime
Unprimed compound absorbs paint differently and flashes through the finish coat.
- 5
Blend the paint
Blended to the nearest corner rather than spot-painted, so there is no hard edge.
- 6
Trim and punch
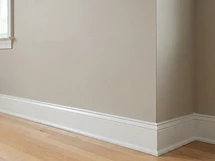
New baseboard installed, caulked and painted, then a final walkthrough.
What it costs
| Scope | Typical Las Vegas range |
|---|---|
| Small water-damaged patch, dried and refinished | $350 – $900 |
| Bottom two feet of a wall, one room | $700 – $1,800 |
| Full wall replacement, one room | $1,200 – $3,000 |
| Ceiling section replacement, dried and refinished | $900 – $2,500 |
| With mould remediation included | Add $1,500 – $4,500 |
Ranges vary with how much material has to come out, how far the moisture travelled and whether flooring or cabinets are involved.
What we typically see in Las Vegas homes
Based on our own repair work
From the water-damage drywall repairs we run across the Valley:
- The visible stain is smaller than the wet area on nearly every job. We routinely find moisture a foot or more above the top of the staining.
- Baseboard almost never goes back. Once it swells, reusing it looks patched no matter how carefully it is reinstalled.
- Ceiling repairs are the hardest to make invisible, and the most common place we are called in after someone else's repair still shows.
- The jobs that hold up are the ones where the cavity was metered dry before boarding. We treat that reading as a hard gate, not a formality.
A water heater pan overflow had saturated the base of the wall in an adjoining closet in a Las Vegas home, with staining visible on the drywall and the baseboard already separating from the wall.
Metered the wall and found the moisture had wicked well above the visible stain line, cut the affected board back to sound material and removed the swollen baseboard, dried and verified the cavity, installed new board and finished it to level-4, matched the existing texture, primed and blended the paint, then installed new baseboard, caulked and painted. The closet now reads as untouched.
Las Vegas, NV